 DREAMHILL
DOME PROJECT
DREAMHILL
DOME PROJECT
Construction History
In the year 1999 walked up this hill of raw totally undeveloped land and decided this was the place
There was no roads, no nothing here. So a road was made up to the top of this hill called "Dreamhill"
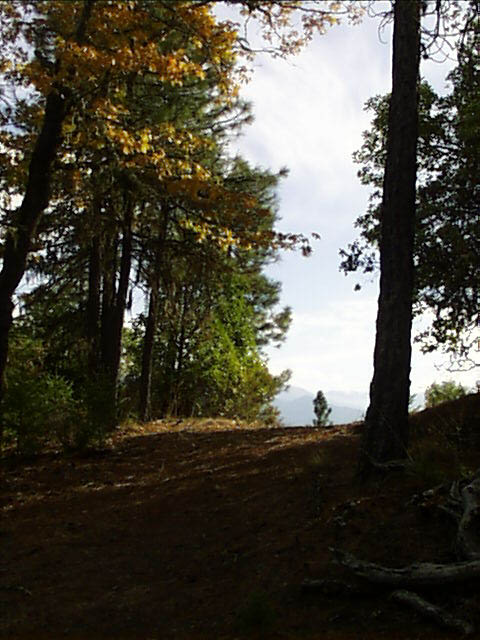
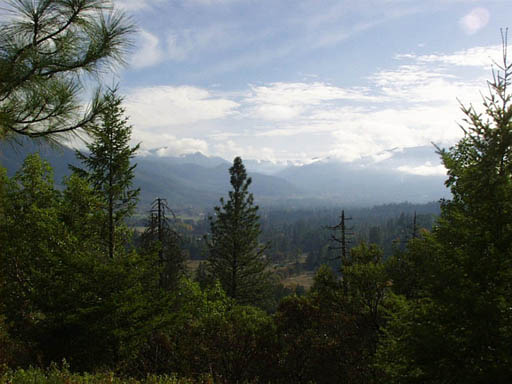
The view from the top of Dreamhill in 1999
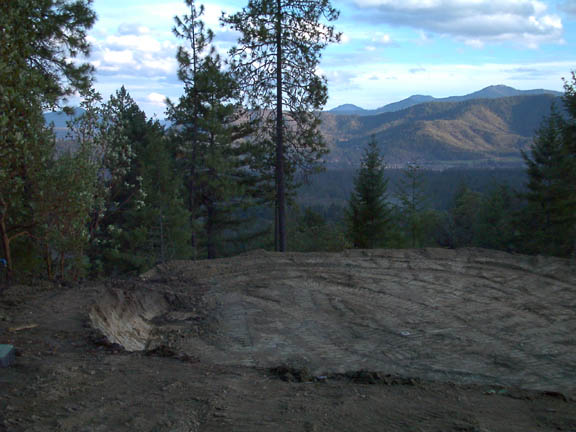
Pad cut into the top of hill in 2000
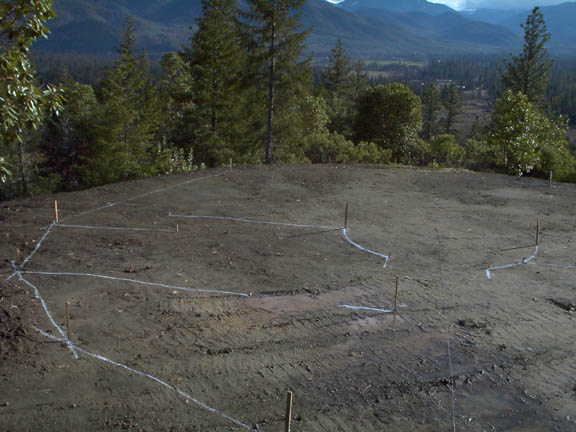
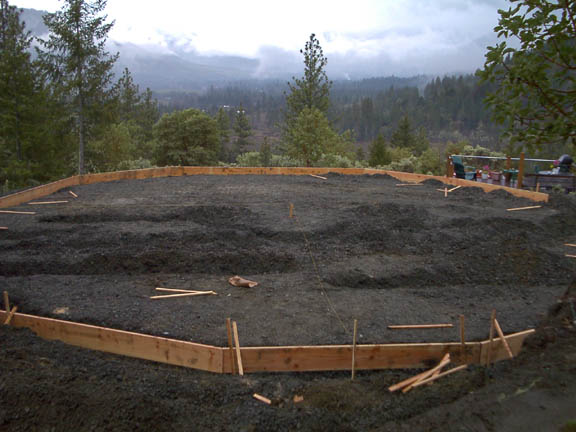
2004 Construction begins with laying out house orientation
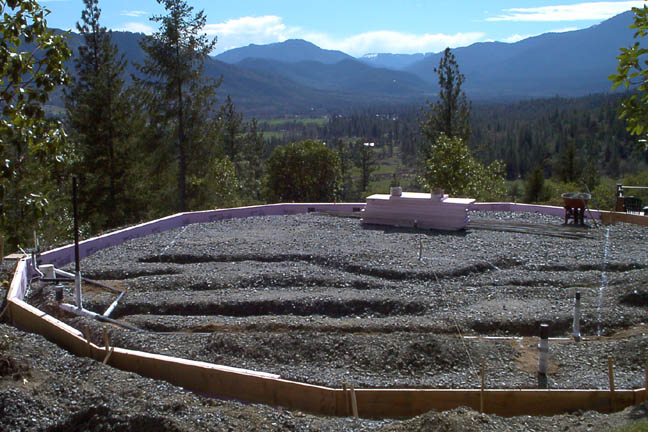
Proper soil compaction is done and then footings are put in place
Then insulation and plumbing are installed
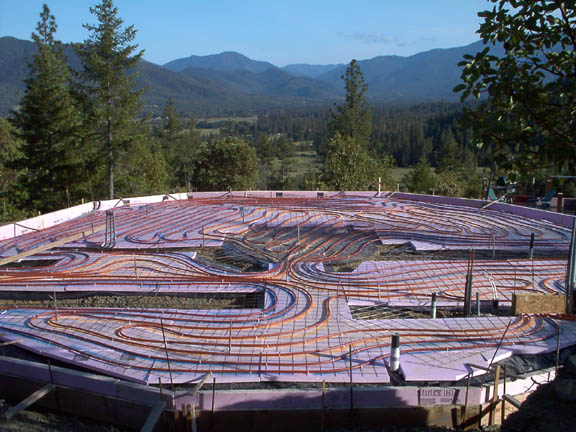
Under the slab insulation is then installed to prepare for radiant tubing
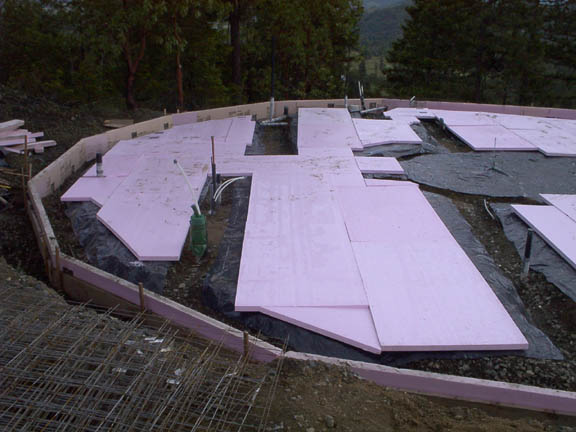
Then steel mesh is laid over insulation
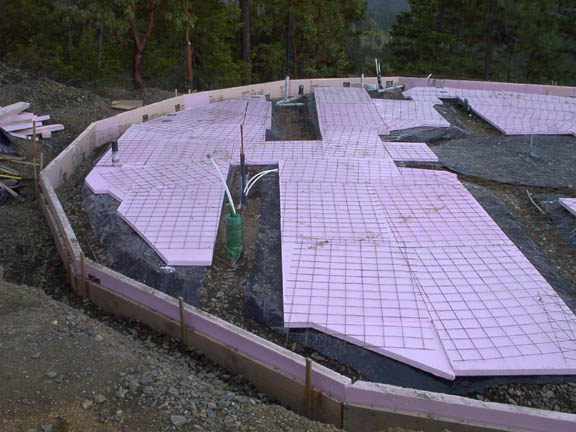
Radiant tubing is then tied the steel mesh and connected to manifold
Concrete is then poured with pump by Ron & Rosie
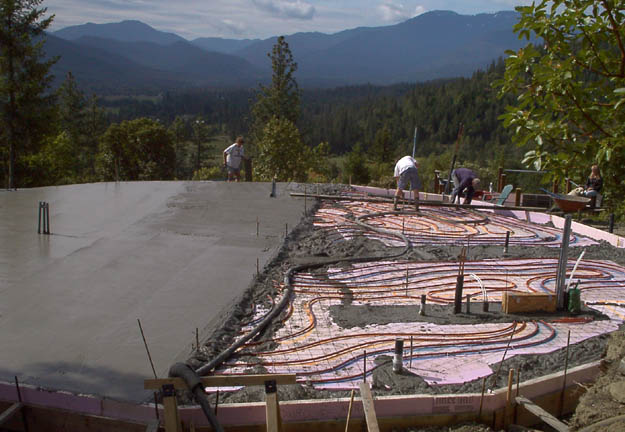
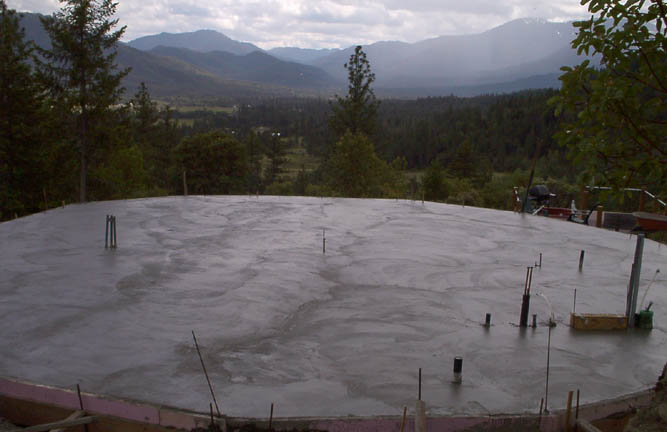
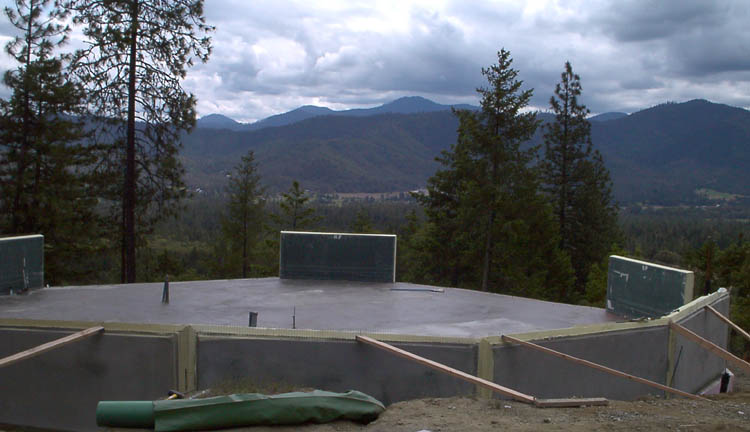
The monolithic slab is now complete with all under slab conduits in place
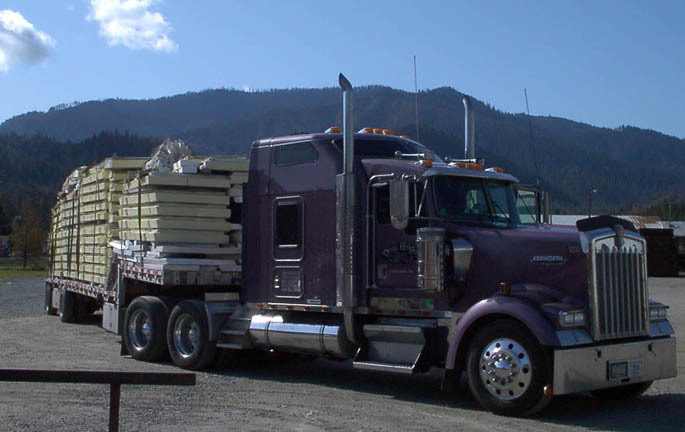
Dome kit arrives in Oregon on truck all the way from Florida
Then transferred to land and stacked awaiting assembly

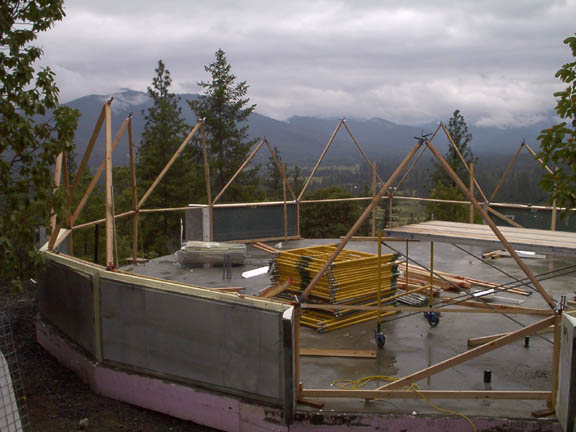
Riser Panels are first put up
Then the first level of framing rib system is erected
Then the second level is connected
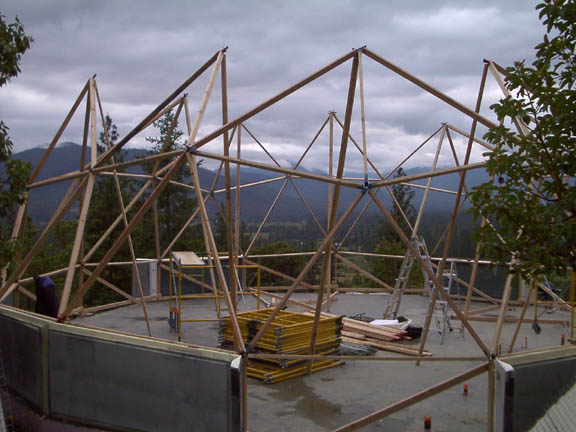
Then Bill McGlamery (he built 43 of these - would have been very hard without him) connects the final rib to the pentagon at the top
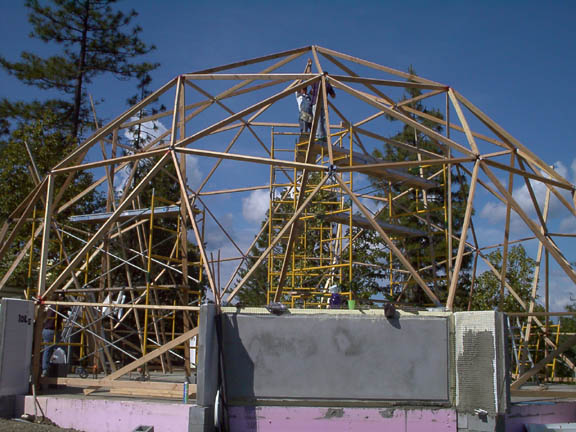
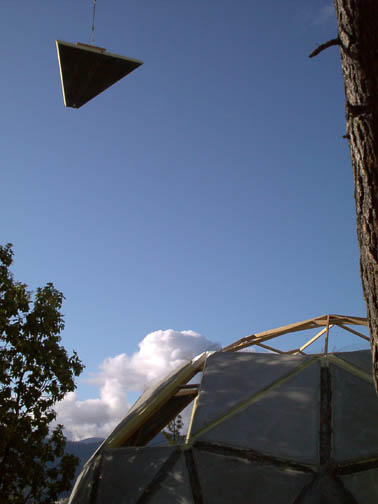
Now the Hexogonal and Pentagonal triangles go into place
Mortar (the mud) is then placed into seams of wire mesh
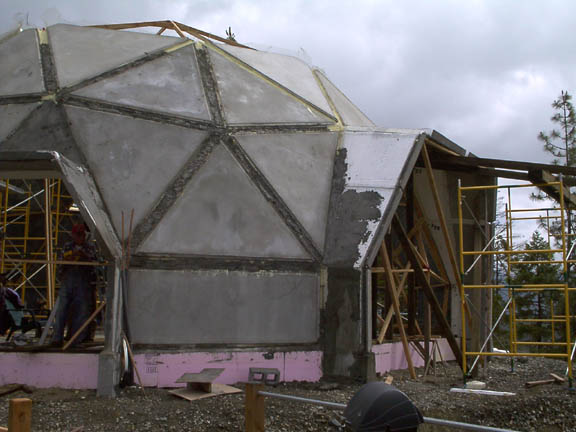
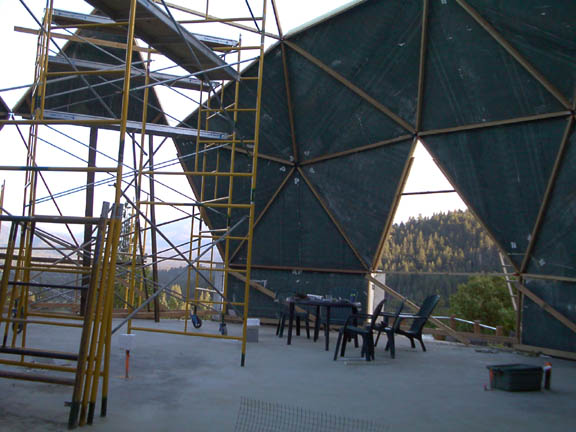
Table setup in the dining room as we work
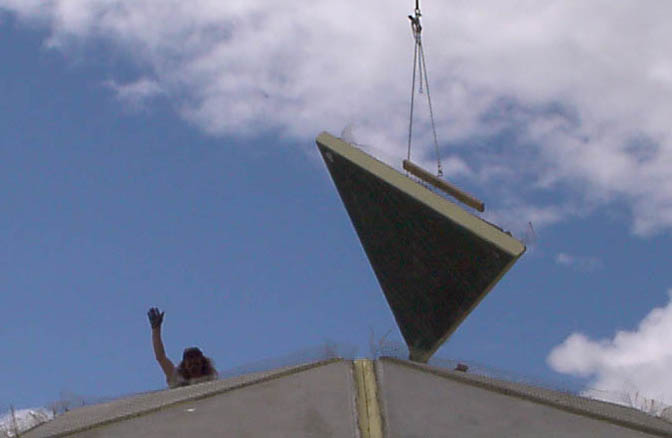
Bernie operates the 90 foot crane and picks up the last of the 300 lb triangular panels
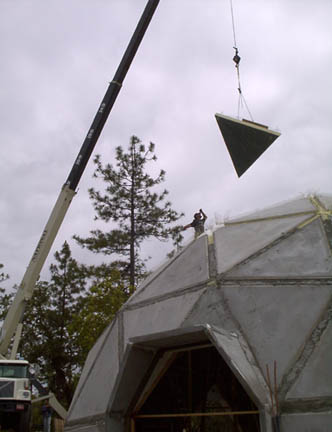
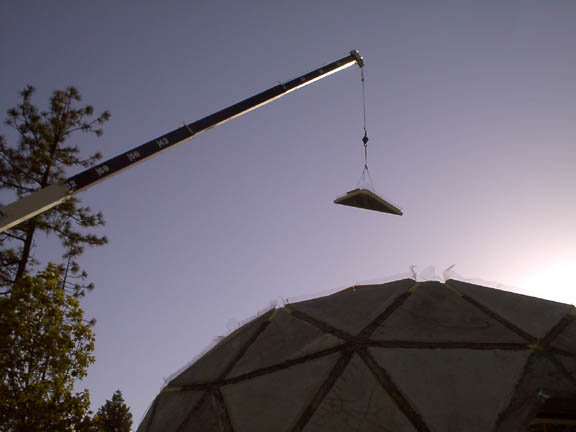
Thomas guides crane operator for placement

then shoves it into place
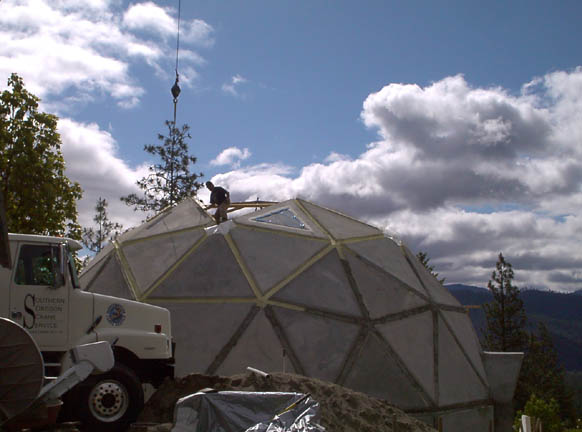
Eric finishing off the top of the dome
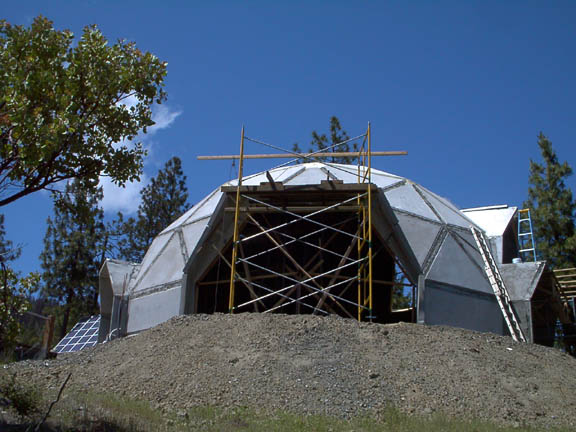
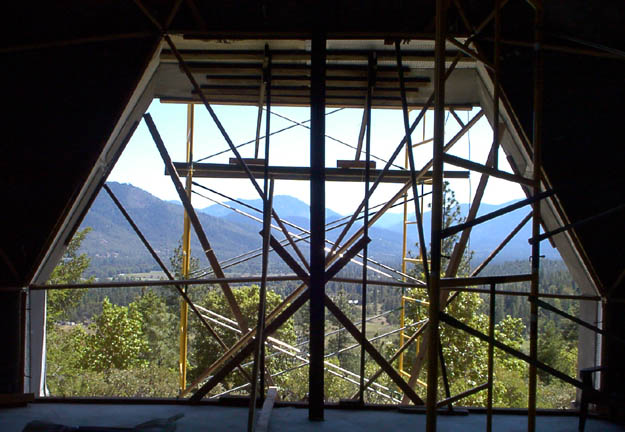
Support structures kept in place in picture window while cement hardens
View through the large 20 foot picture window from the inside
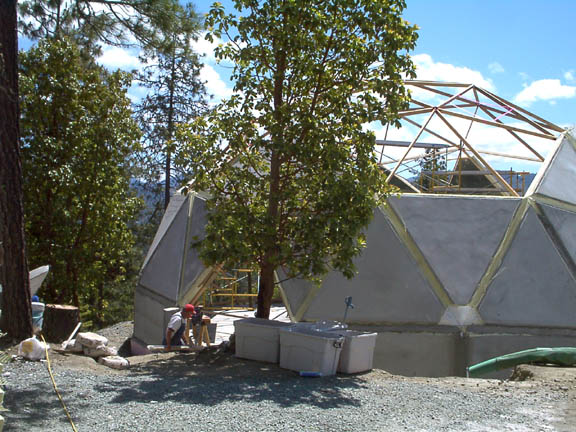
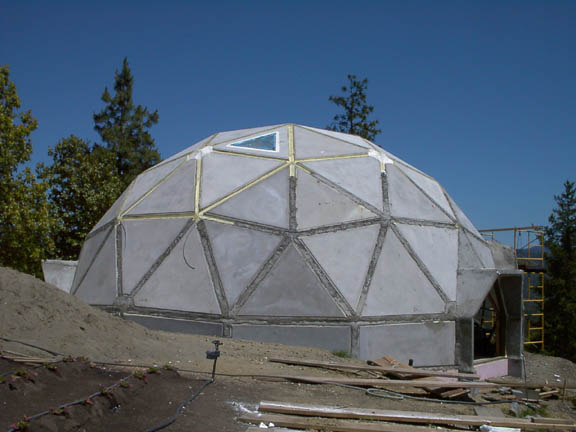
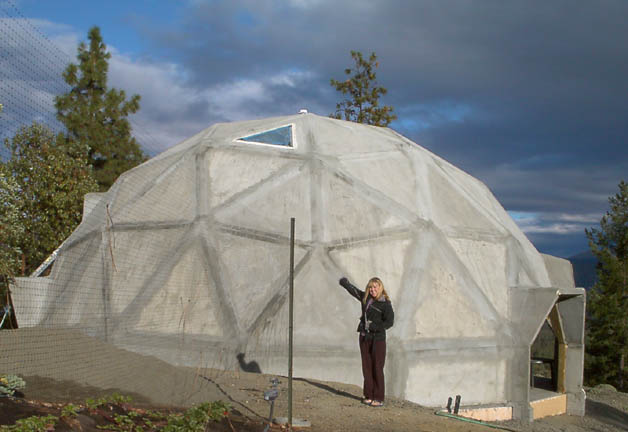
Finally all 65 triangles are in place awaiting cement in the seams
On 5-30-2004 Rebecca stands in front of the dome with all triangles put in place
A specially constructed cement bucket tram is made to get cement to workers on the top
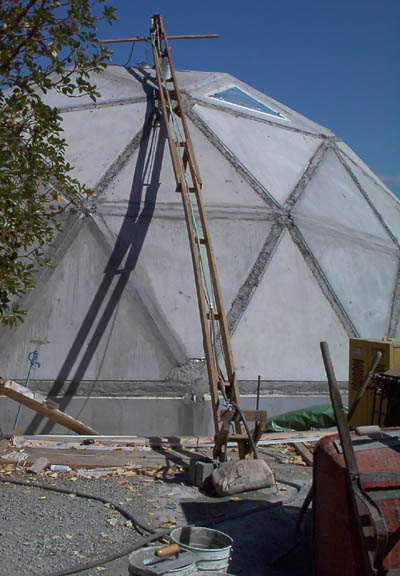
After all seams have been C-clamped and mudded with corner beads
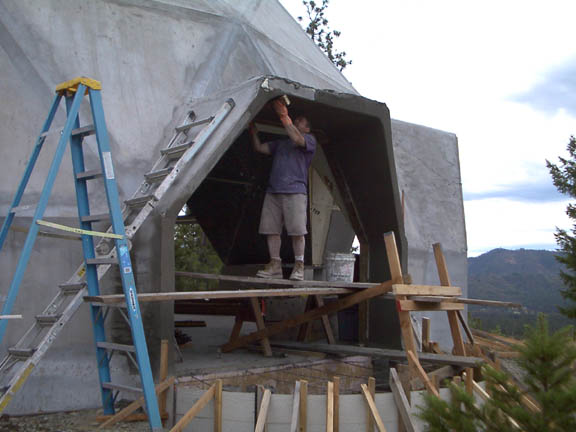
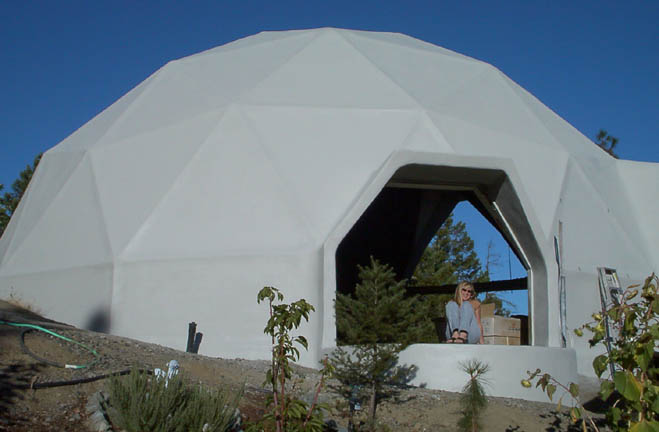
Final steps are completing the skirts at the bottom and the dormers before sealing the dome
The next step would have been sealing the dome for leaks with bonding agent
then cement sealer and then painting before winter hit
Cement Sealer - by Sherwin Williams
Paint - Outdoor Acrylic Latex - off white color to reduce heating
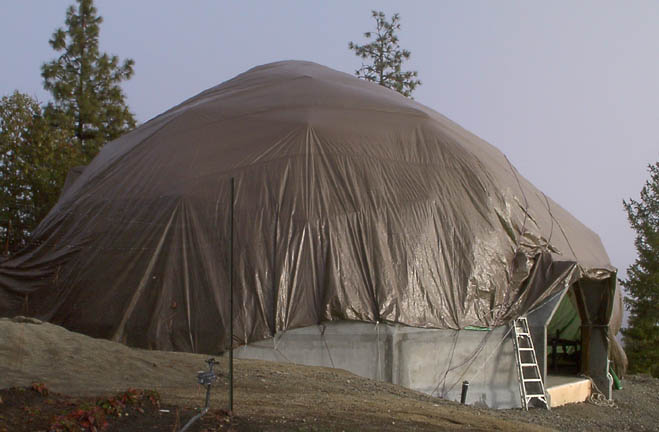
We didn't make it in time so to protect the drywall from mosture and then freezing
we put a 150 foot trap and roped it down to keep the rain and snow from penetrating the dome
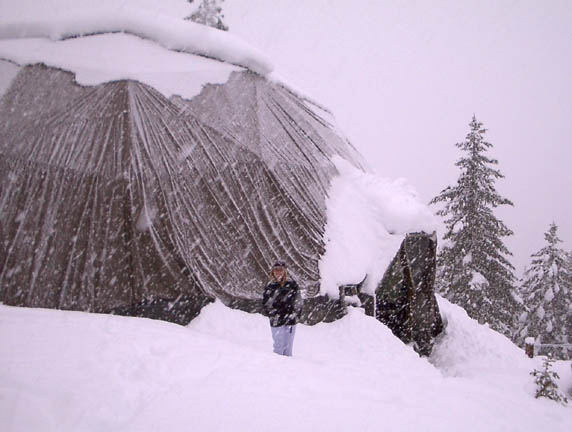
Of coure the worst winter in years hit in 2004 with a couple feet of snow so nothing will happen until Spring
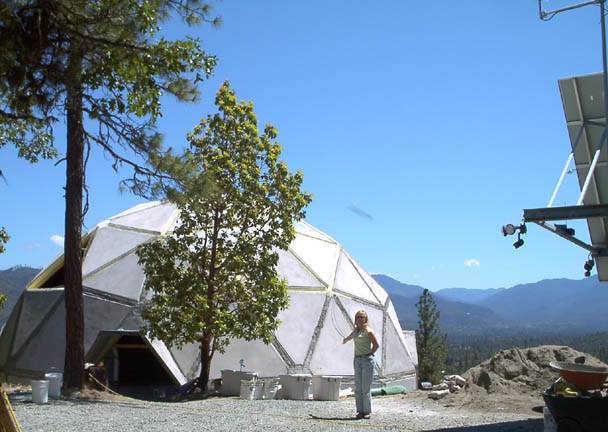
In Summer of 2005 we completed the dormers ready for painting.
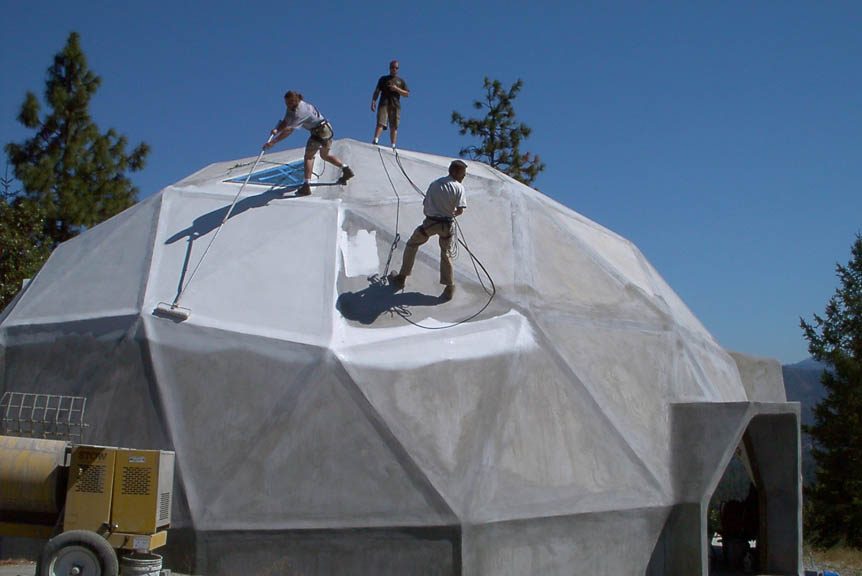
In September of 2005 the sealing and painting were done by Rich Cassidy and crew
The end result turned out great
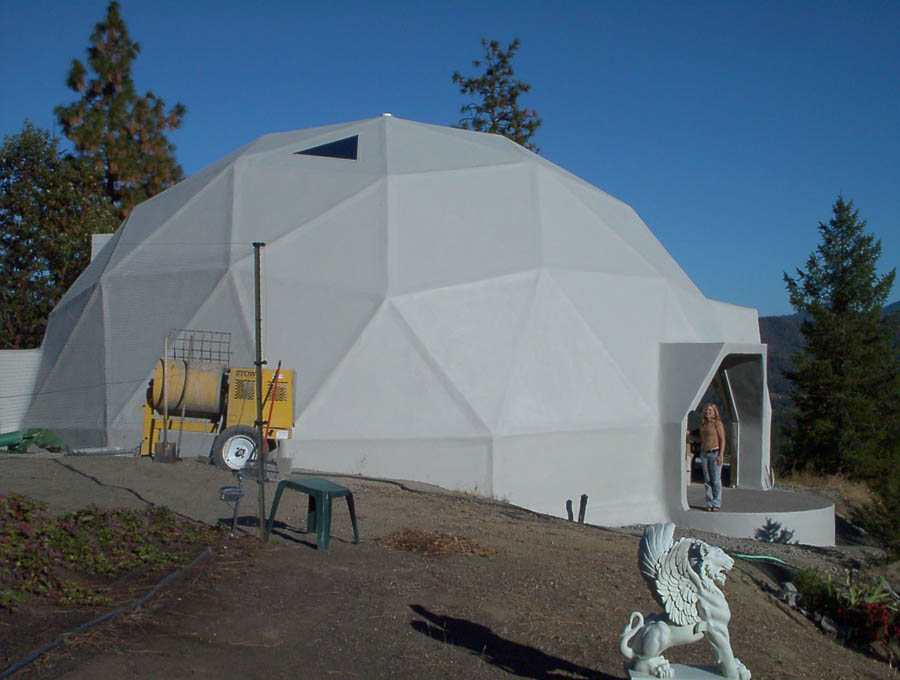
We love the color and now the next step is the Interior Framing